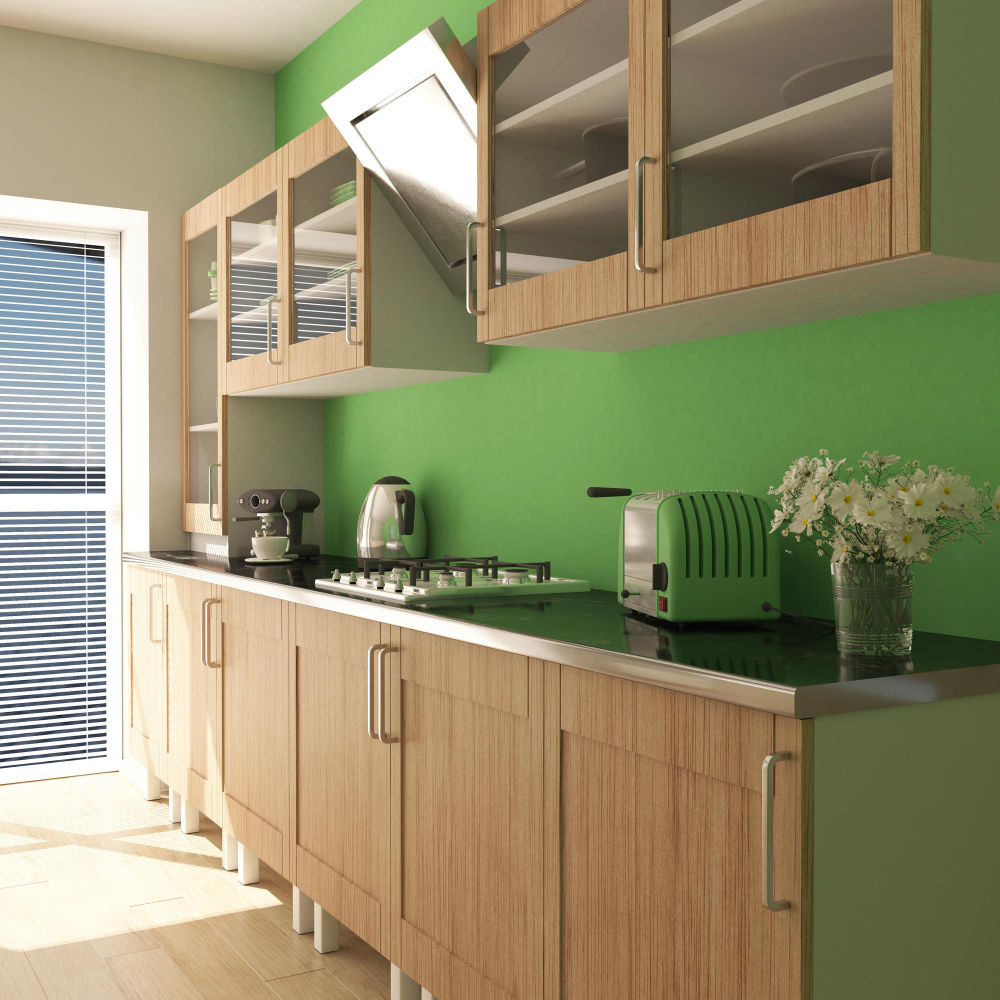
Painting your kitchen cupboards can dramatically transform the look and feel of your kitchen without the need for a full renovation. With the right preparation, technique, and paint, your kitchen can look like new. This article will guide you through the process of painting your kitchen cupboards, highlight inspiring before and after transformations, and provide tips and answers to common questions about the process.
1. The Benefits of Painting Kitchen Cupboards
Painting your kitchen cupboards offers numerous benefits:
Cost-effective: A fraction of the cost of replacing cupboards.
Customization: Tailor the color to your personal style.
Quick Update: Refresh your kitchen’s look in a relatively short time.
Increased Home Value: A well-done paint job can enhance your home’s marketability.
2. Choosing the Right Paint for Kitchen Cupboards
Selecting the appropriate paint is crucial for a durable and attractive finish:
Type of Paint: Use high-quality latex or oil-based paint for durability.
Finish: Semi-gloss or gloss finishes are ideal for cupboards due to their easy-to-clean surfaces and durability.
Color: Choose a color that complements your kitchen’s overall design and your personal style.
3. Preparing Your Kitchen Cupboards
Proper preparation is key to a successful paint job:
Remove Hardware: Take off all handles, knobs, and hinges.
Clean: Thoroughly clean the cupboards to remove grease, grime, and dust.
Sand: Lightly sand the surfaces to create a smooth, paint-ready surface.
Prime: Apply a quality primer to ensure good paint adhesion and a smooth finish.
4. Step-by-Step Guide to Painting Kitchen Cupboards
Follow these steps for a professional-looking paint job:
Remove Cupboards and Drawers: Take off cupboard doors and drawers for easier painting.
Label Everything: Label doors, drawers, and hardware to ensure easy reassembly.
Clean and Sand: Clean all surfaces and lightly sand them to create a smooth base.
Apply Primer: Use a brush or roller to apply a primer coat.
Sand Again: Lightly sand the primed surfaces to remove any imperfections.
Paint: Apply the first coat of paint, let it dry completely, then apply a second coat if necessary.
Reassemble: Once the paint is fully dry, reattach the doors, drawers, and hardware.
5. Before and After: Inspiring Transformations
Seeing is believing. Here are some examples of how painting kitchen cupboards can transform a space:
Dull to Dazzling: An outdated, dark kitchen transformed into a bright, modern space with white paint.
Neutral to Bold: Neutral-toned cupboards painted a vibrant color for a lively, energetic kitchen.
Old to New: Worn-out cupboards given new life with a fresh coat of paint, making the kitchen look updated and stylish.
6. Common Mistakes to Avoid When Painting Kitchen Cupboards
Avoid these pitfalls for a smooth painting process:
Skipping Preparation: Inadequate cleaning or sanding can lead to poor paint adhesion.
Using the Wrong Paint: Low-quality or incorrect type of paint can result in a less durable finish.
Rushing the Process: Not allowing enough drying time between coats can cause smudges and an uneven finish.
Ignoring Hardware: Neglecting to clean or replace old hardware can detract from the finished look.
7. Tips for Maintaining Painted Kitchen Cupboards
Keep your painted cupboards looking fresh with these tips:
Regular Cleaning: Wipe down surfaces with a damp cloth to remove grease and dirt.
Avoid Harsh Chemicals: Use mild cleaners to prevent damaging the paint.
Handle with Care: Be gentle with doors and drawers to avoid chipping the paint.
Touch Up: Keep leftover paint for touch-ups in case of chips or scratches.
8. Cost Considerations for Painting Kitchen Cupboards
Understanding the costs involved can help you budget effectively:
Materials: Include the cost of paint, primer, brushes, rollers, sandpaper, and cleaning supplies.
Labor: If hiring a professional, factor in labor costs.
DIY Savings: Doing the work yourself can significantly reduce costs, but ensure you have the time and skills for a quality job.
9. Eco-Friendly Painting Options
For those concerned about the environment, consider these options:
Low-VOC Paints: Use paints with low volatile organic compounds (VOCs) to reduce harmful emissions.
Recycled Paints: Some brands offer paints made from recycled materials.
Eco-Friendly Brands: Look for brands that prioritize sustainability and environmentally friendly practices.
10. Personalizing Your Painted Cupboards
Make your kitchen unique with these personalization ideas:
Two-Tone Cupboards: Paint upper and lower cupboards different colors for a modern look.
Accent Colors: Use bold colors on an island or select cupboards to create focal points.
Decorative Finishes: Consider techniques like glazing or distressing for a custom, unique finish.
Conclusion
Painting your kitchen cupboards is a fantastic way to refresh and personalize your kitchen without the high cost and inconvenience of a full renovation. With proper preparation, the right materials, and a bit of effort, you can achieve stunning results. Whether you choose a classic white, a bold color, or an eco-friendly option, the transformation will undoubtedly breathe new life into your kitchen.
FAQs
How long does it take to paint kitchen cupboards?
The process can take several days to a week, depending on the size of your kitchen and drying times between coats.
Do I need to sand my cupboards before painting?
Yes, sanding is crucial to create a smooth surface and ensure the paint adheres properly.
Can I paint over varnished or laminated cupboards?
Yes, but you need to use a primer specifically designed for slick surfaces to ensure proper adhesion.
What type of paint is best for kitchen cupboards?
High-quality latex or oil-based paints with a semi-gloss or gloss finish are ideal for kitchen cupboards due to their durability and easy-to-clean surfaces.
How do I prevent brush strokes and achieve a smooth finish?
Use a high-quality brush or roller, apply thin coats, and lightly sand between coats to achieve a smooth, professional-looking finish.
Also Read: Richard, My Richard: Exploring the Depth and Dimensions of the Name Richard


